

This lamp shade has been the vain of my existence for the past week!!!!! Ha! For a minute there I though it got the best of me buuuuut knowing the stubborn “I got this” attitude of mine – I conquered it after many burned fingertips and two ruined lampshades in the trash! It’s done!
I bought a hotel lamp about two years ago for our dark master bedroom. It was at a great price and it did the job well. To tell you truth I didn’t take the price tag off for about a year. Anyway, so this past week I wanted to give it some jazz and a good punch of color. As I was browsing the Internet I ran into a tutorial from Mama Says Sew Blog and found a great make over for the lamp inspired by the store Anthropologie.
Here we go!!!
Materials for this project:
- Lamp with a lampshade.
- Spray paint (Used Krylon Jade Satin)
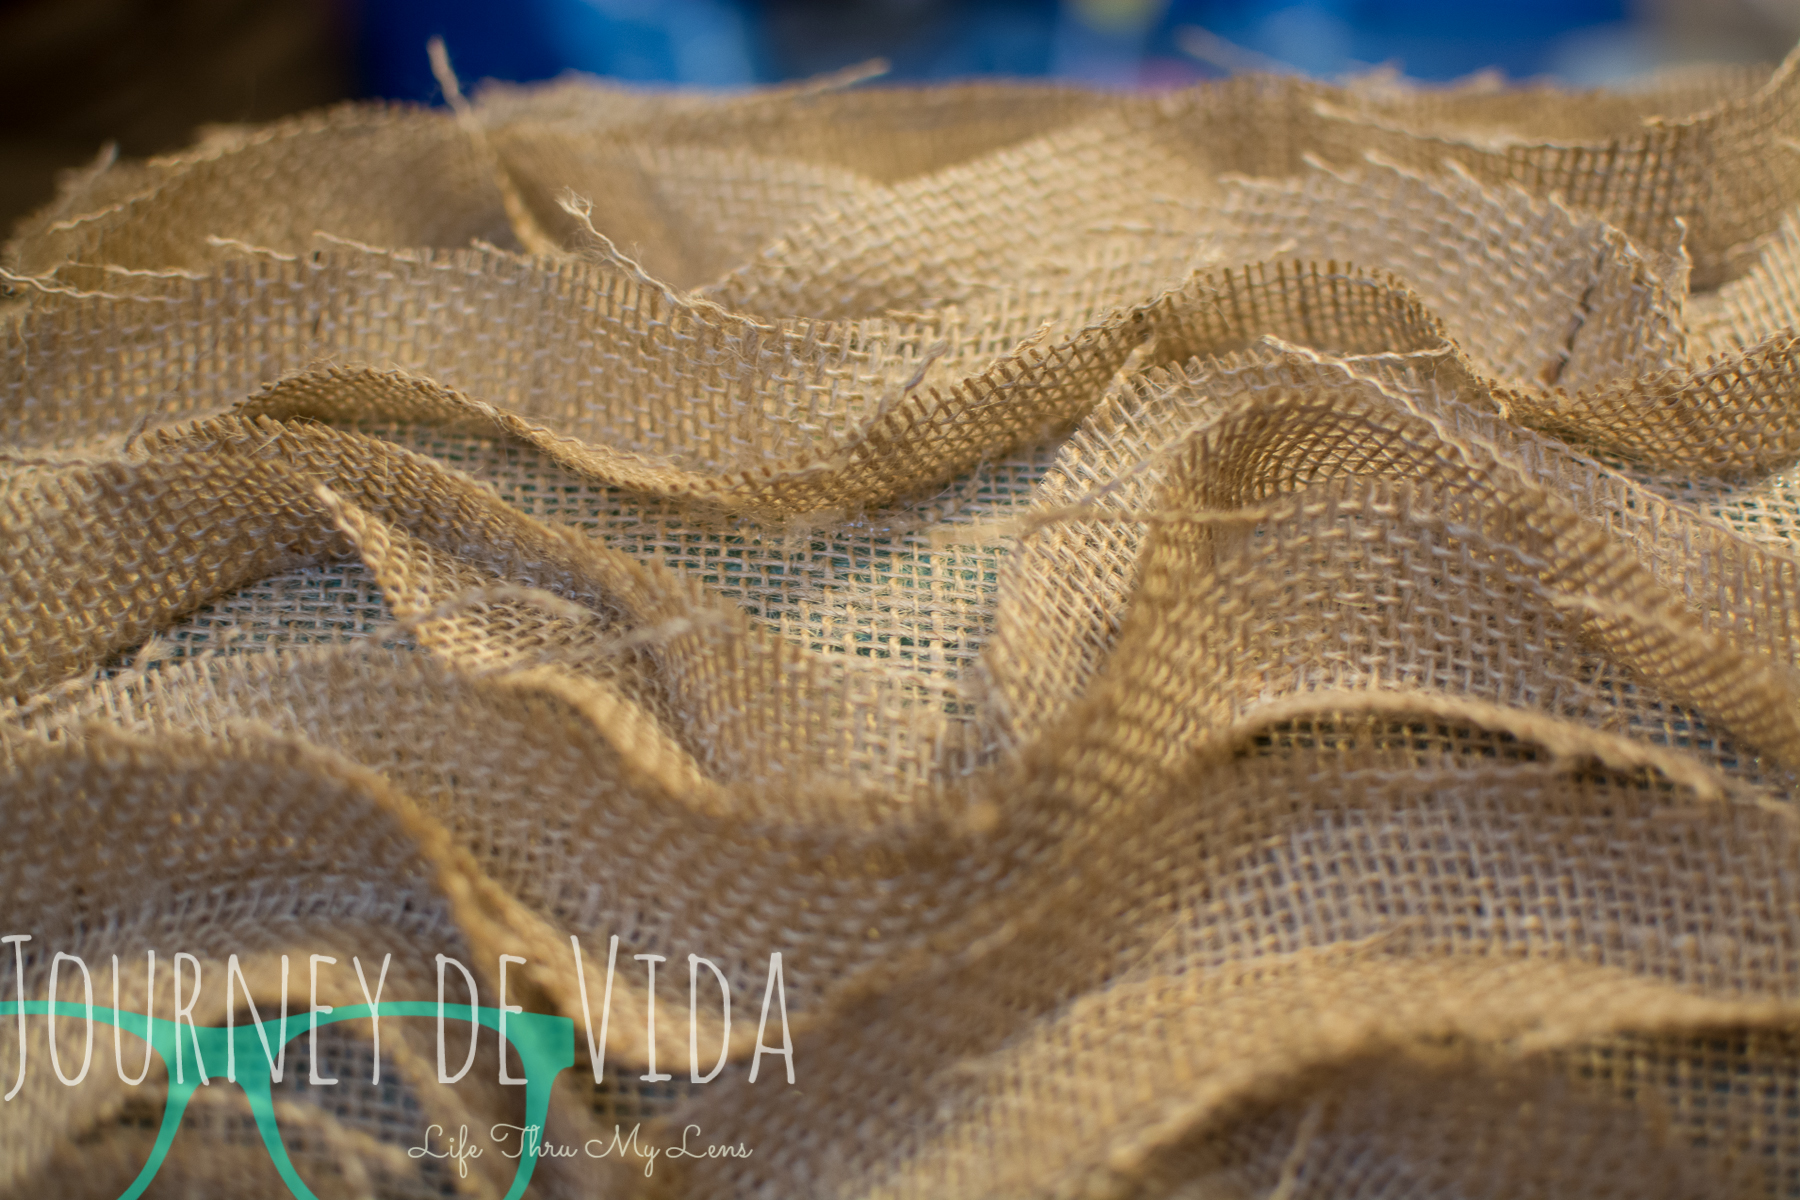
- Burlap
- Masking tape
- Scissors
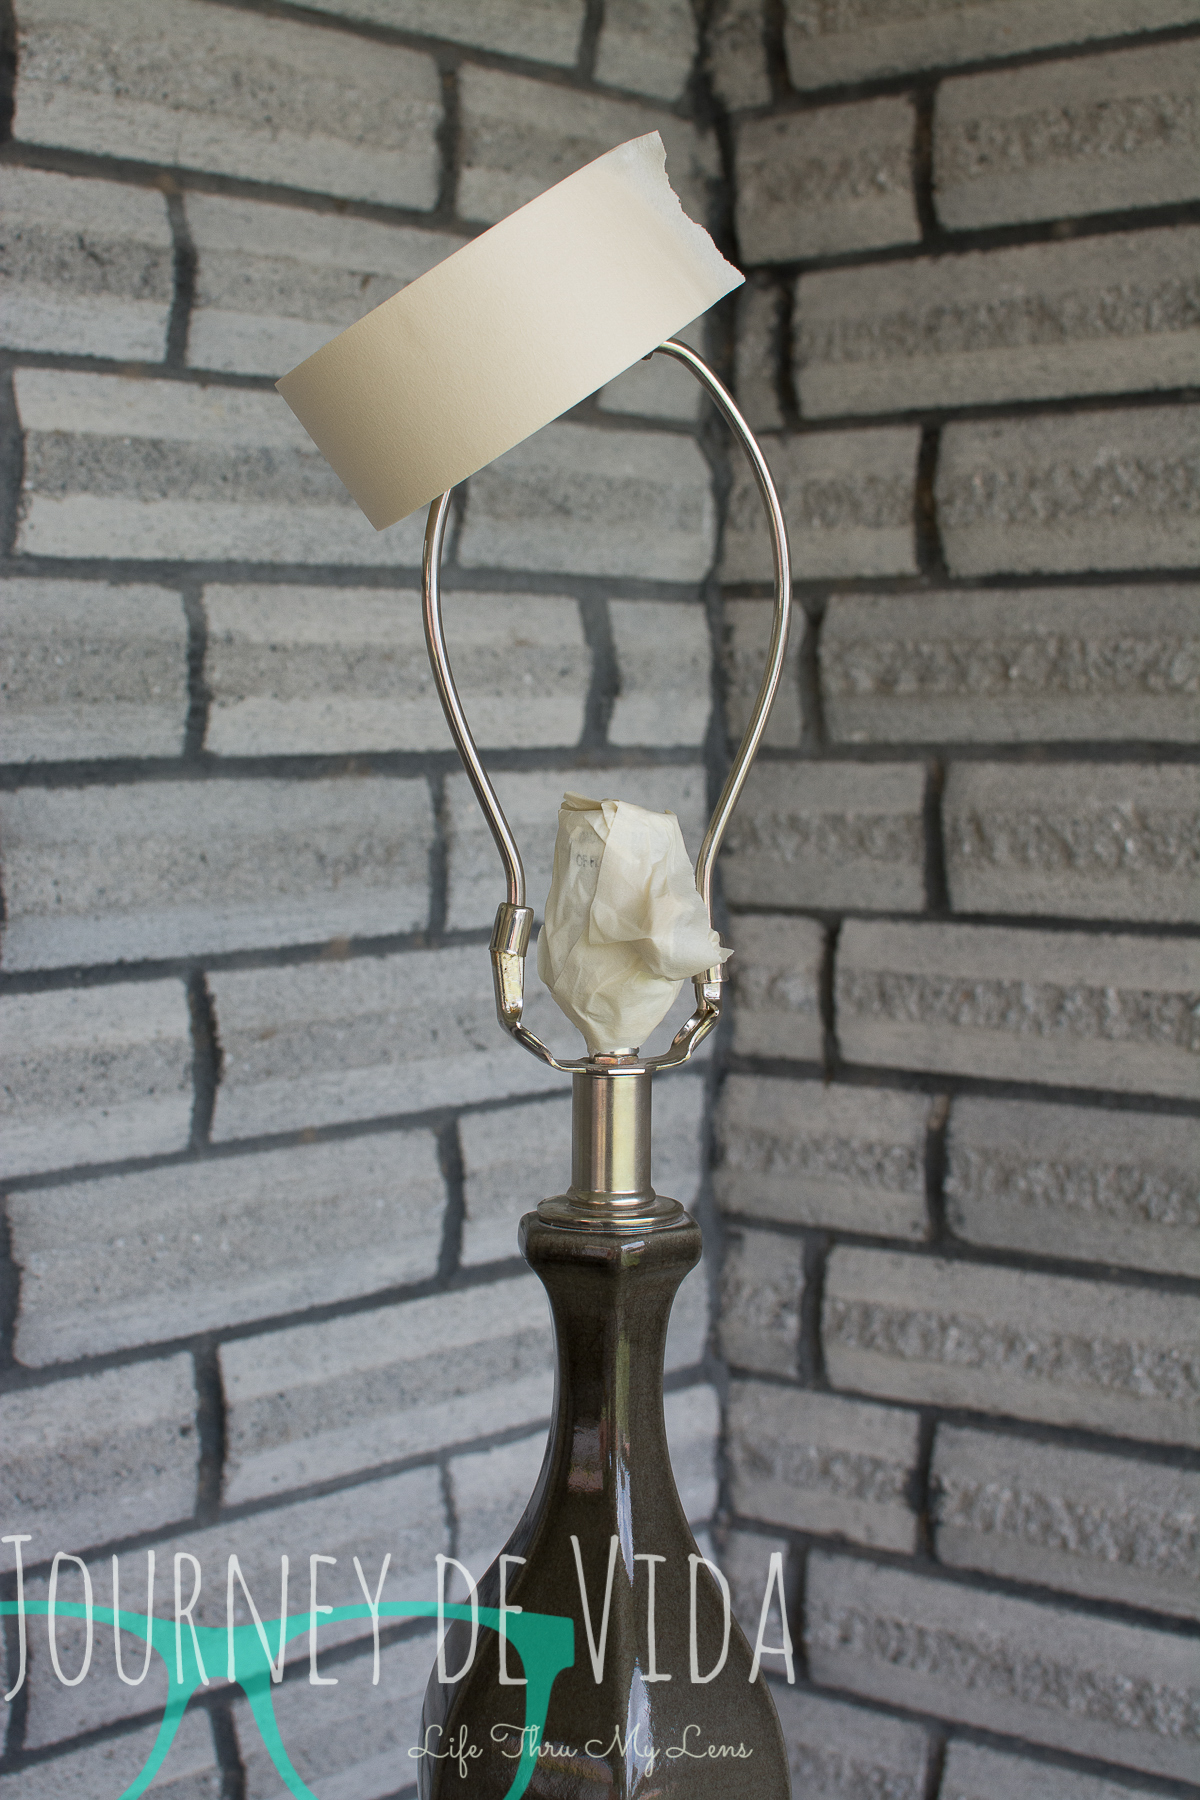
This is what the lamp looked like before.

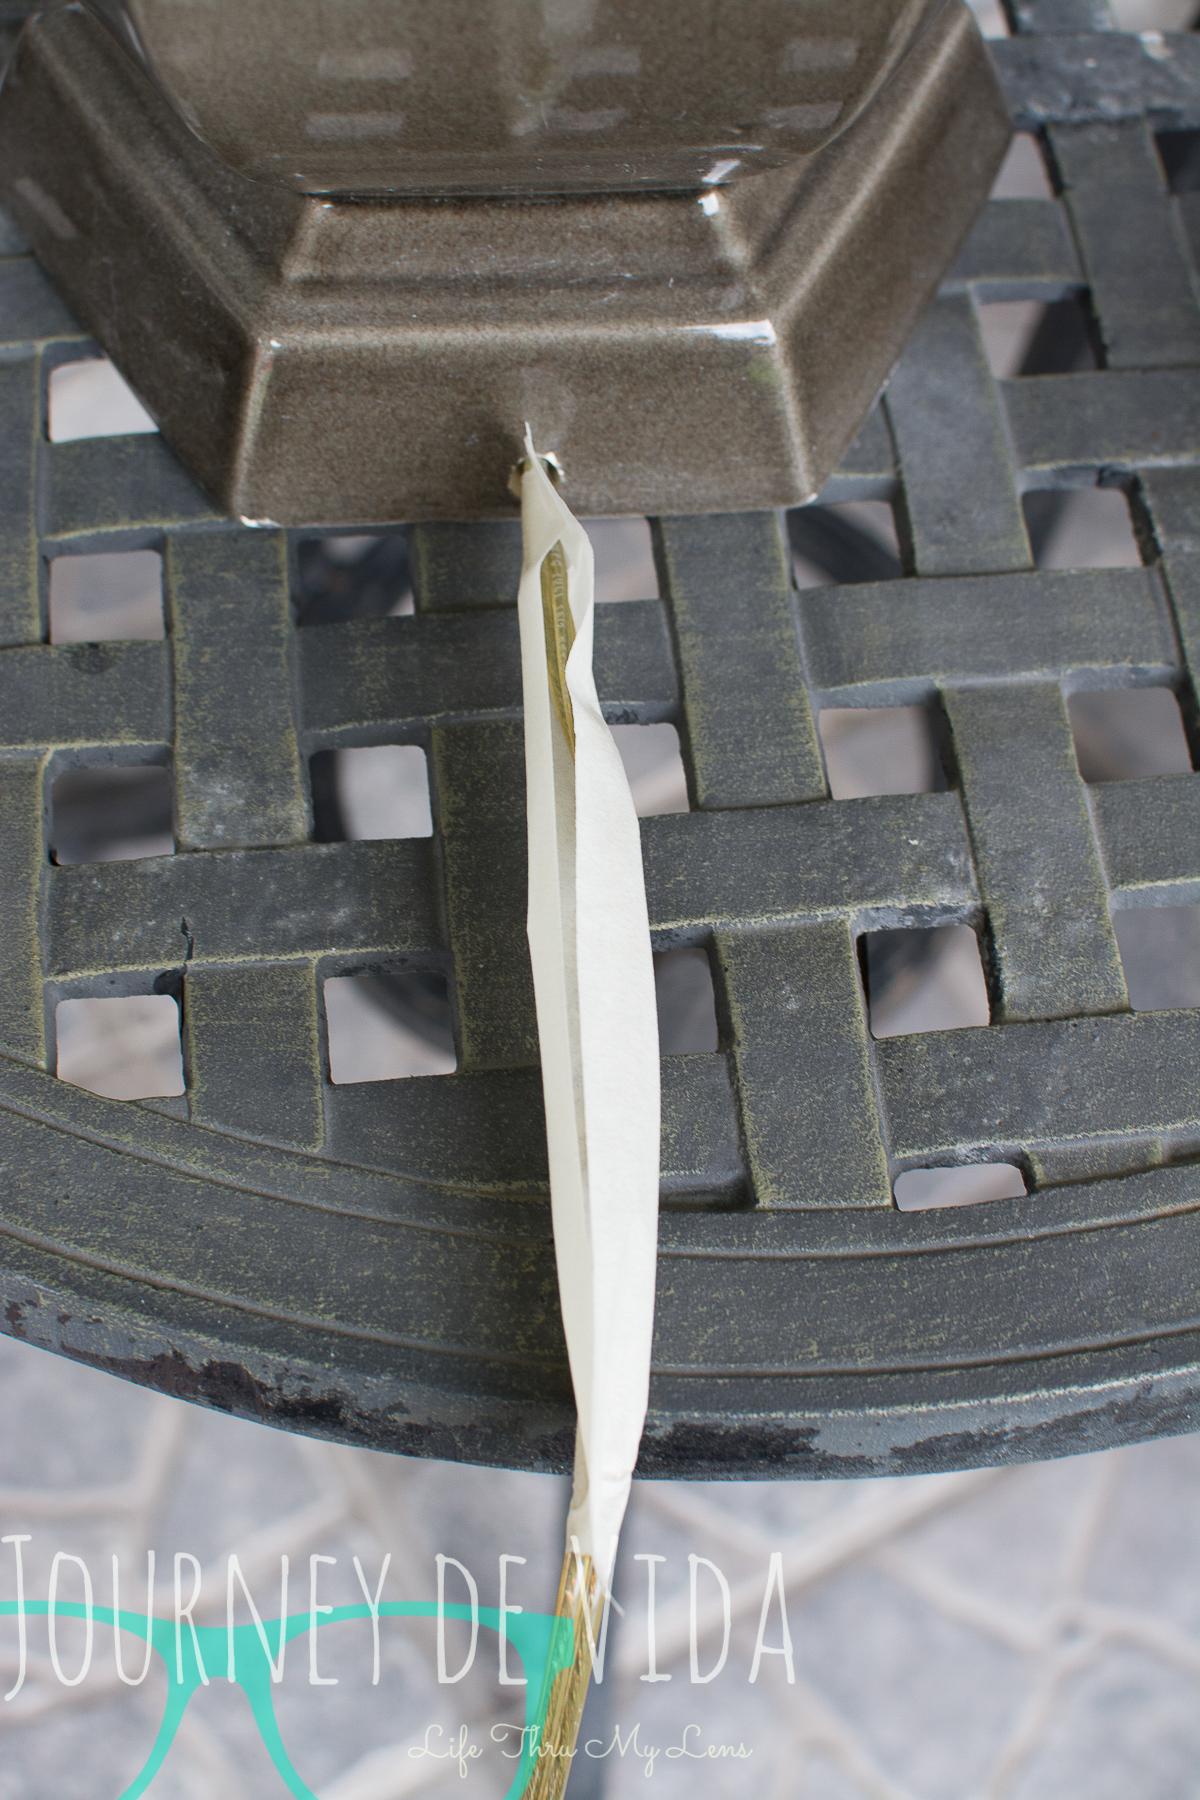
1. Tape off the areas that you wouldn’t want to see painted.


2. Prepare a work area for painting. Make sure it’s a well ventilated area. Preferably outside. Spray your first coat and give it about 30 minutes to dry. Do this especially if your original surface was glossy like this lamp.


3. Apply a second and third coat leaving about 30 minutes in between each application. By the third coat your lamp should have a beautiful solid color. I painted all the way up to give that extra pop just incase anybody were to look underneath the lampshade.

4. I took the lamp shade and painted it ALL! Inside and out! I did this for two reasons. 1. I wrapped the entire shade with burlap and burlap has holes. So I wanted to see some color besides white. 2. I colored underneath because I didn’t like when i tried to tuck it under how it looked. I was too messy with the glue and there was glue everywhere. I actually like this a whole lot better.


5. When you are ready to cover start slow on the edge of the lamp. Work your way from the top to the bottom.


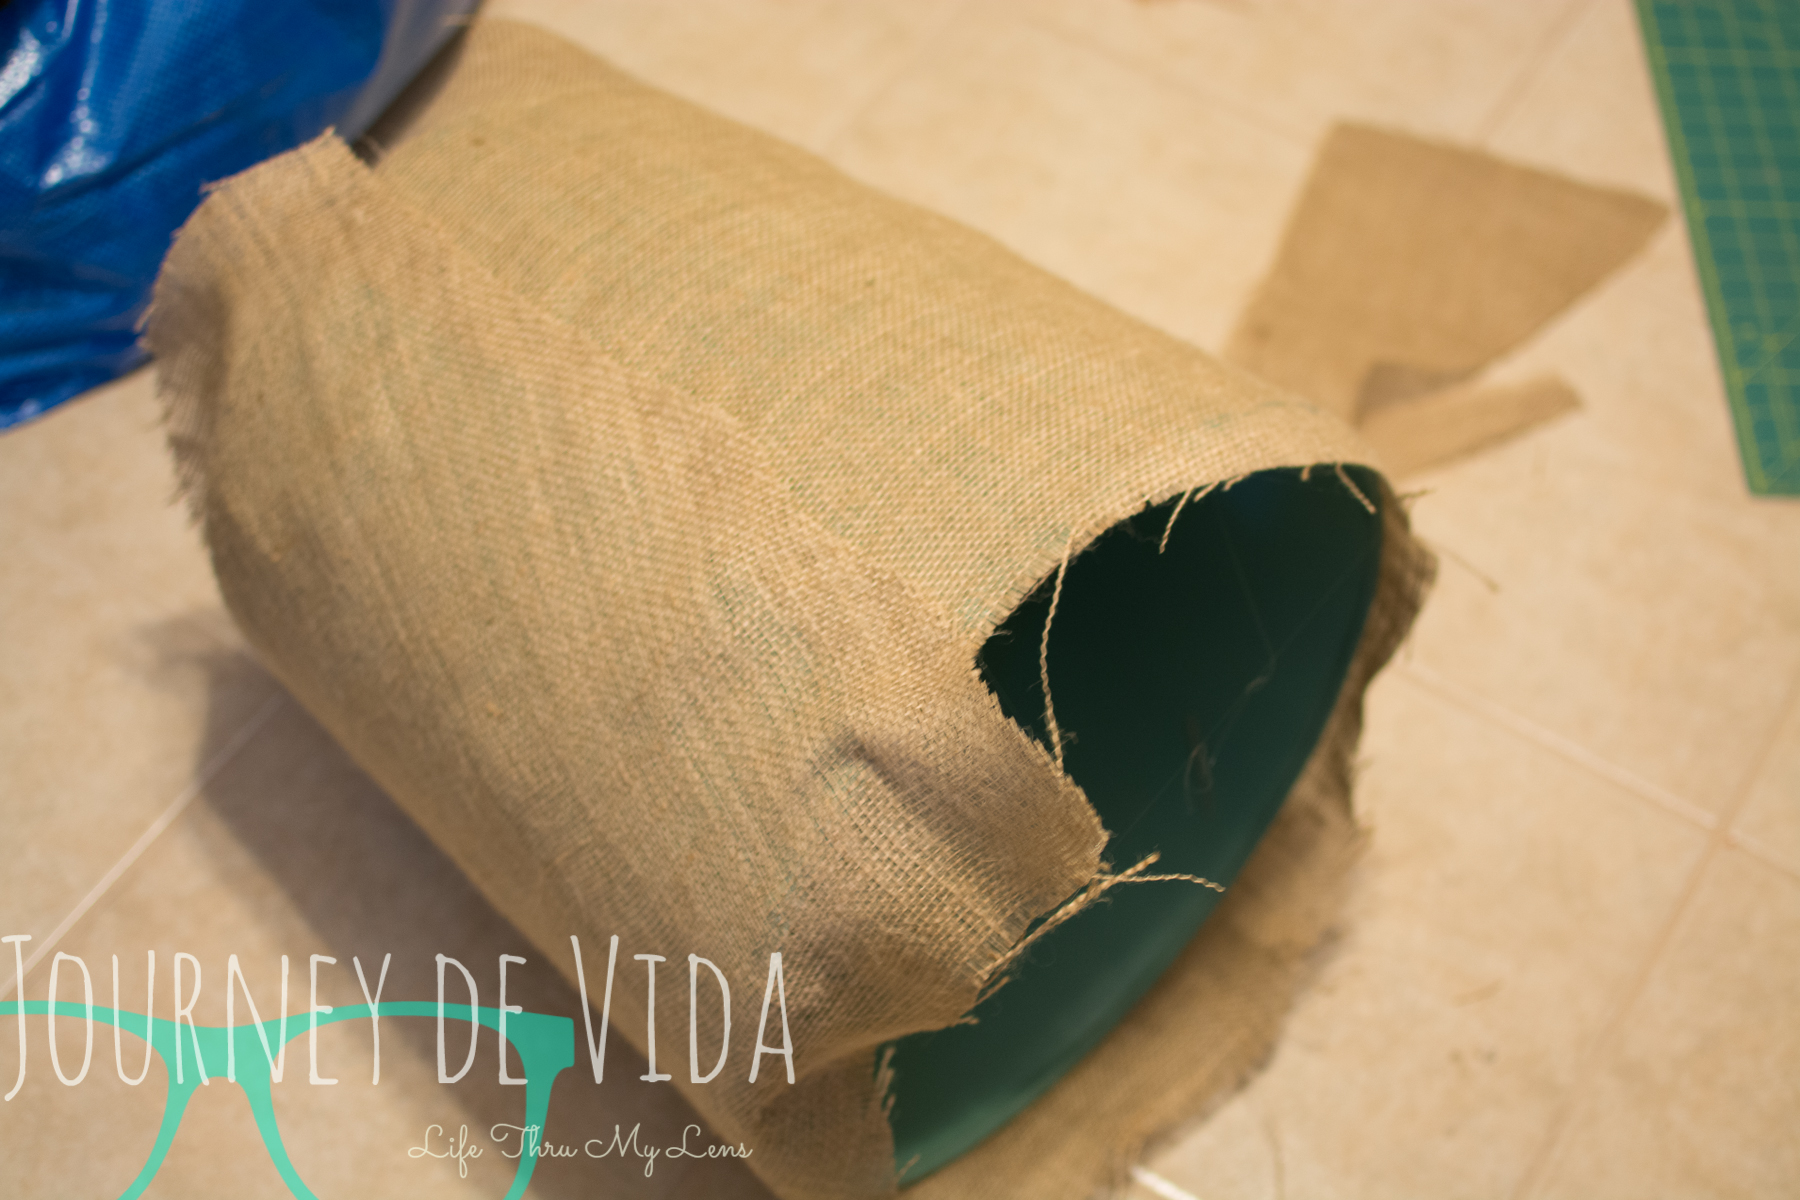
6. After I covered the entire shade I trimmed it to be even with the rim.


7. To make the ruffles I took the burlap and cut it 2 inches wide. I did this so that when I iron the burlap in half I get one inch high ruffles.

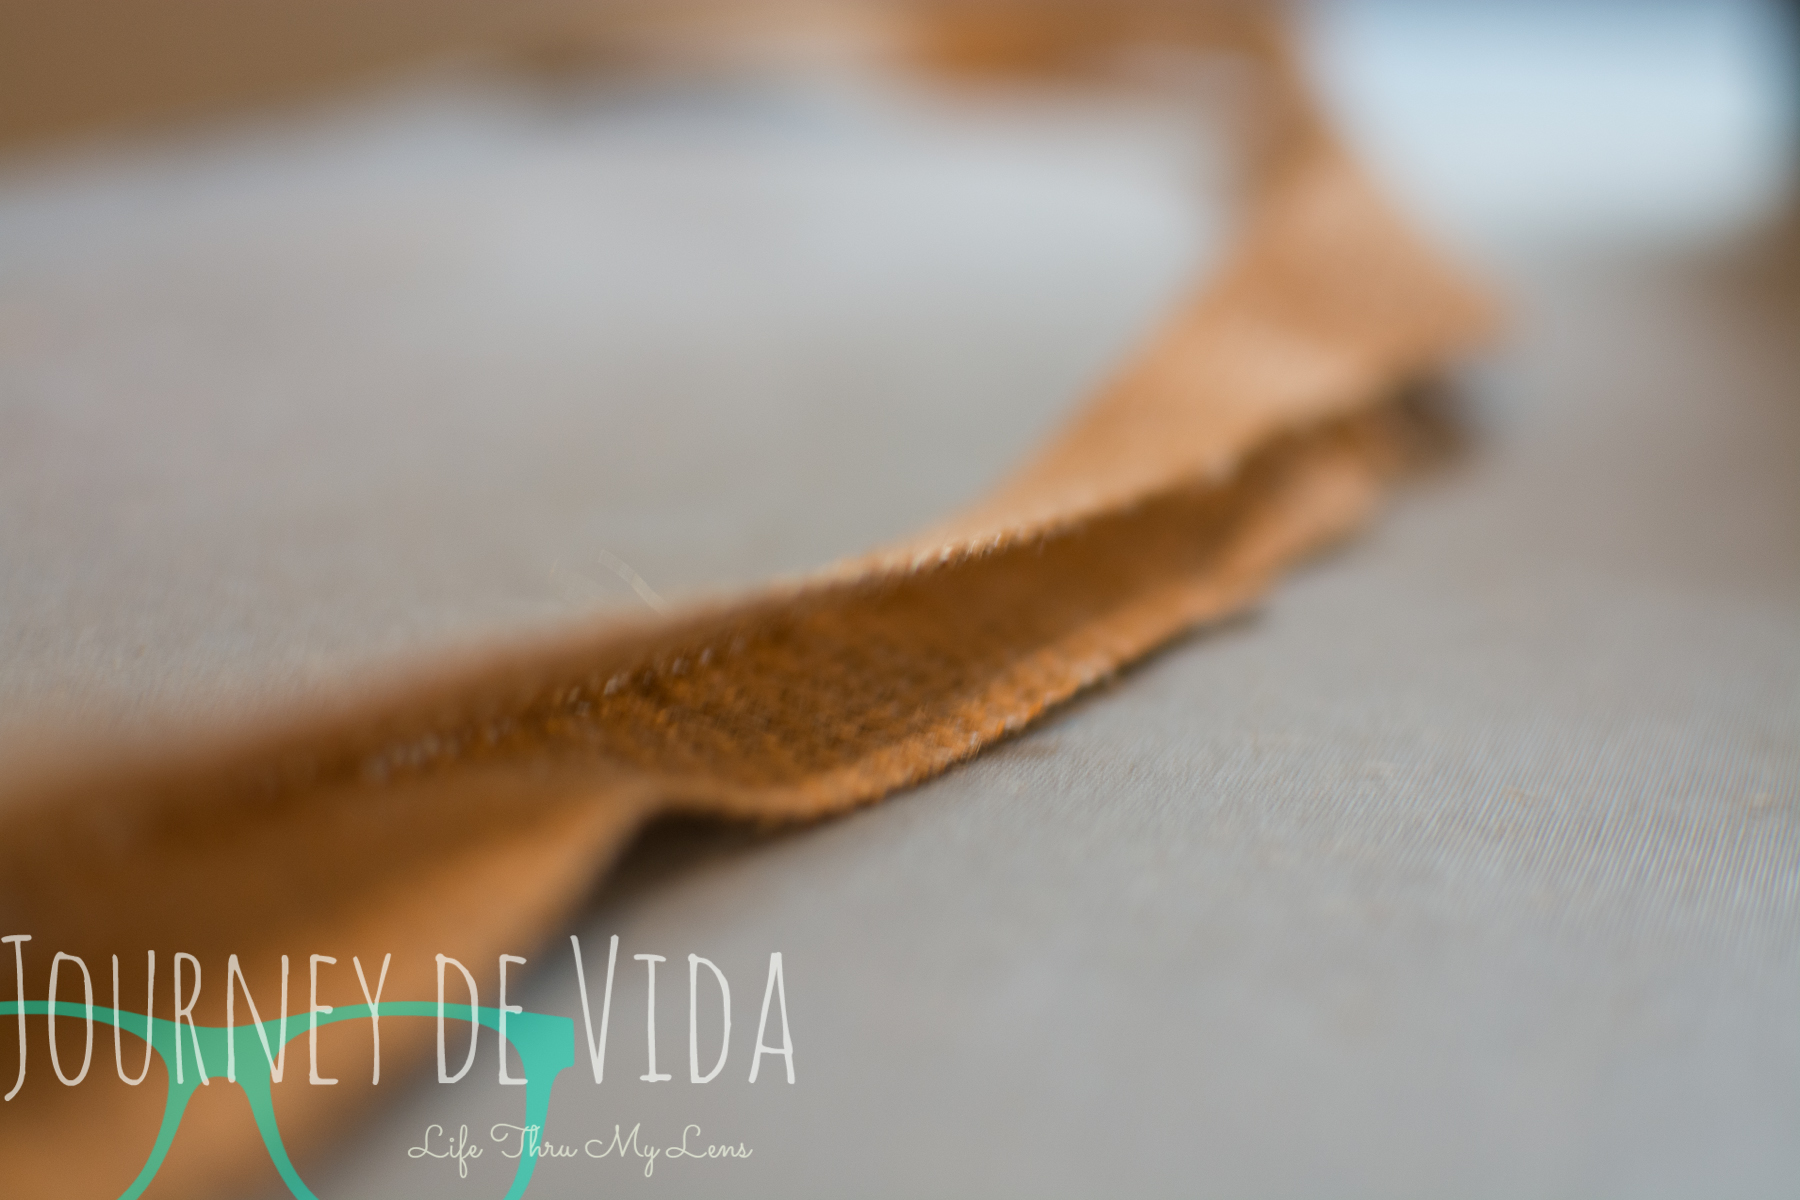
8. Start with your glue gun on the top and make a squiggle all the way down to the bottom. Make sure to go straight up and down. Then take the creased part of your ruffle and follow the glue line. Do this until you have go all the way around.


9. After I went all the way around once I continued to fill in all the gaps.

10. You are done!
QUICK TIP: After many burned fingers I got smart and decided to use a silicon finger cover that’s used in offices. I still felt the hot glue at times but it didn’t sting as much and glue didn’t stick to my finger again!

I hope this tutorial will inspire you to get out there and create your own!
In his service,


So adorable! I love the burlap shade and the turquoise base. Perfect combo! I’d be thrilled if you’d link up at this week’s Off the Hook!
LikeLike
Thank you Lauren! I appreciate your feedback! Thank you for the invitation to the link party! I will be there 🙂 – Monica
LikeLike
Hi,
I love the color and turned out to be a unique piece. The burlap was a surprise as I read and looked at the photos.
Judy
pursuitoffunctionalhome.com
lovenotesbyjudy
LikeLike
Thank you Judy! Enjoy your day!
– Monica
LikeLike
How fun, I love this idea. Great redo. Thanks tons for linking to Inspire Me.
LikeLike
I am glad I was able to inspire you Marty! Thank you for stopping by 🙂 Enjoy!
– Monica
LikeLike
Monica, this is genius! What a difference to that lamp and the shade is freak’n amazing. So glad I saw your link at the Show Me What Ya Got Party.
LikeLike
Thank you Marie! I am glad that you like it 🙂 I love to create and if it can bring people joy then it makes me proud. Thank you!
– Monica
LikeLike
Wow- you did a really good job! Looks great! #CreativeMondays
LikeLike
Thank you Nadine! Enjoy your day!!
– Monica
LikeLike
This is just the cutest burlap shade! love it….stopping by from mama buzz linky. Have a great week.
LikeLike
Thank you Rachel! It was fun to create! Have a great week as well!
– Monica
LikeLike
Such a pretty redo – I really love how you used the burlap. The texture is amazing! Pinning to remember
LikeLike
Thank you Kristy! I am glad you enjoyed the tutorial :)Have a great week!
– Monica
LikeLike
What a transformation! Love the teal color – it’s my fave! Great way to rehab a tired lamp into something awesome 🙂
LikeLike
Thank you so much Erica! I am glad you enjoyed it! Have a great weekend!
– Monica
LikeLike
Loving the color you made the base, and the burlap lamp shade is so gorgeous! Thanks so much for sharing on Inspire Me Wednesday. Featuring you in this week’s issue.
LikeLike
Thank you so much Mel! It was fun making it and just as much fun sharing it! I am excited to hear that it was featured! Thank you for the opportunity! Enjoy your week!
– Monica
LikeLike
Thank you for the feature! Looking forward to linking up again!
– Monica
LikeLike
Love this redo! I’ve featured it at Worthwhile Wednesdays!
~Allie http://thecraftiestallie.blogspot.com
LikeLike
Thank you Allie for the feature!
– Monica
LikeLike
Love this tutorial! What an excellent way to redo a lamp!
LikeLike
Thank you Julie!
– Monica
LikeLike
Gorgeous! Love the tutorial, color choice and burlap. I’ll be featuring your DIY at this weeks party. Stop by to see your feature. Thanks for sharing at the party! Theresa @DearCreatives
LikeLike
Thank you Theresa! I appreciate the feedback and feature! Looking forward to visiting!
– Monica
LikeLike
Thank you for sharing this post at City of Creative Dream’s City of Links on Friday! I appreciate you taking the time to party with me. Hope to see you again this week 🙂
LikeLike
Thank you Shanice! Looking forward to linking up again!
– Monica
LikeLike
Thank you Theresa for the feature!
-Monica
LikeLike